
Your Complete Hair Styling Checklist for Polished Results
TL;DR:
- A hair styling checklist guides users through preparation, technique, and finishing to create consistent, polished results. Proper tools, deliberate products, and thorough pre-styling steps improve styling, reduce damage, and extend hairstyle longevity. Sectioning and controlled heat application are essential, and avoiding common mistakes ensures better, longer-lasting styles.
A hair styling checklist is an organized sequence of steps, tools, and products that helps you create polished, lasting hairstyles with confidence every time. Most people skip preparation and jump straight to heat tools, which is exactly why results fall flat by noon. The professional term for this structured approach is a “pre-styling protocol,” and it covers four core phases: preparation, tool selection, technique, and finishing. Joelcma’s team of hair artists at their La Jolla studio uses this same framework for every client. Get these phases right, and you stop guessing and start getting consistent results.
What tools and products does your hair styling checklist need?
The right tools are non-negotiable. Without them, even the best technique produces mediocre results.
| Tool Category | Primary Use | Best For |
|---|---|---|
| Paddle brush | Smoothing and blowouts | Straight and wavy hair |
| Round brush | Adding volume and curl | Medium to long hair |
| Wide-tooth comb | Detangling wet hair | All hair types |
| Sectioning clips | Holding sections during styling | Thick and long hair |
| Ionic blow dryer | Fast, frizz-reducing drying | All hair types |
| Flat iron | Smoothing or creating bends | Straight, wavy, and curly hair |
| Curling wand | Defined waves and curls | Wavy and curly hair |
Your products list should be equally deliberate. The core items are a heat protectant spray, a volumizing mousse or lightweight root spray, a finishing spray, and a dry texturizing spray. Lightweight volumizing products applied at the roots encourage fullness without weighing hair down, which is especially true for thin or fine hair. Celebrity hairstylist Luke Hersheson confirms this: root-focused volumizers outperform heavy creams on lengths for anyone chasing volume.
Pro Tip: Choose one multipurpose product that does two jobs, such as a heat protectant that also adds shine, rather than layering three separate products. Fewer products mean less buildup and more natural movement.
The goal is a lean kit. A wide-tooth comb, a quality blow dryer, one heat tool, and three to four products cover the needs of most hair types. You can always add specialty items once you know your hair’s specific preferences.
How should you prepare your hair before styling?
Preparation accounts for the majority of your final styling result. Pre-styling steps account for 50–65% of total styling outcomes, which means what you do before picking up a heat tool matters more than the tool itself.
Follow these steps every time:
- Wash with intention. Shampoo focuses on the scalp to remove oil and buildup. Work the lather down the lengths without scrubbing.
- Condition correctly. Apply conditioner only to mid-lengths and ends. Applying it to roots causes limp, greasy roots that resist styling.
- Blot, do not rub. Press a microfiber towel against sections of hair to absorb water. Rubbing creates frizz by roughing up the hair cuticle.
- Apply heat protectant to damp hair. Spray or work it through evenly while hair is still damp. This is the single most important product step for long-term hair health. Joelcma’s guide on protecting hair from heat covers application technique in detail.
- Detangle from ends upward. Start at the tips with a wide-tooth comb and work toward the roots. Pulling from the root down causes breakage.
- Dry completely before styling. Styles lose shape fast when hair is only 70–85% dry. Reach 100% dryness before applying any heat tool for a finished look.
Pro Tip: An efficient prep routine takes about five minutes: one to two minutes for washing, one minute for towel drying, and two minutes for product application and detangling. Speed comes from doing each step correctly, not from skipping any.
How does sectioning hair improve your styling results?
Sectioning is the step most people skip, and it is the reason their blowout looks uneven or their curls come out patchy. Hair sectioning varies by thickness: fine hair needs 2–4 sections, while thick hair requires 4–8. More sections mean more even heat distribution and a more consistent finish.
The direction of your sections also matters:
- Horizontal sections suit blowouts and smooth styles. They create flat, layered results that lie close to the head.
- Vertical sections work best for curls and waves. They allow the curl to form naturally around the tool without flattening.
- Clips hold everything in place. Secure finished sections out of the way so you are always working on one clean piece at a time.
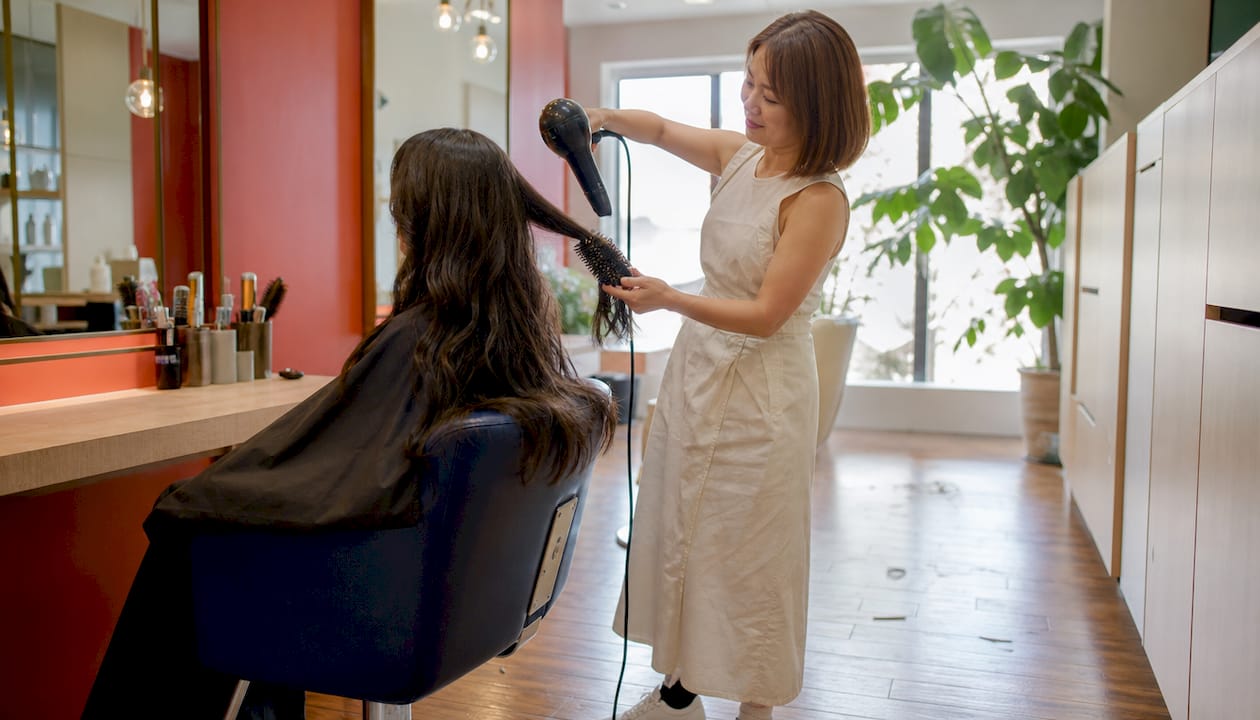
The professional drying sequence starts at the nape and moves upward toward the crown. Drying from the nape upward in small sections yields smooth, consistent results and reduces frizz. This is the industry standard used in every professional salon, including Joelcma’s studio in La Jolla.
Pro Tip: If you notice frizz or uneven texture after styling, the cause is almost always sections that were too large. Drop down to smaller sections and re-dry that area with the cool shot button to lock the cuticle.
The most common sectioning mistake is working top-down. Starting at the crown means the nape, which is often the thickest and most resistant section, gets the least attention. Flip the sequence and your results will improve immediately.
| Hair Type | Sections Needed | Best Section Direction |
|---|---|---|
| Fine | 2–4 | Horizontal for volume |
| Medium | 4–6 | Horizontal or vertical |
| Thick | 4–8 | Vertical for control |
| Curly | 4–8 | Vertical for curl definition |
What are the best hair styling techniques to use after prep?
Once your hair is fully dry and sectioned, technique determines the final look. Expert styling guides recommend working from the lowest effective heat setting upward rather than defaulting to the highest temperature. High heat does not mean faster results. It means more damage and shorter style life.
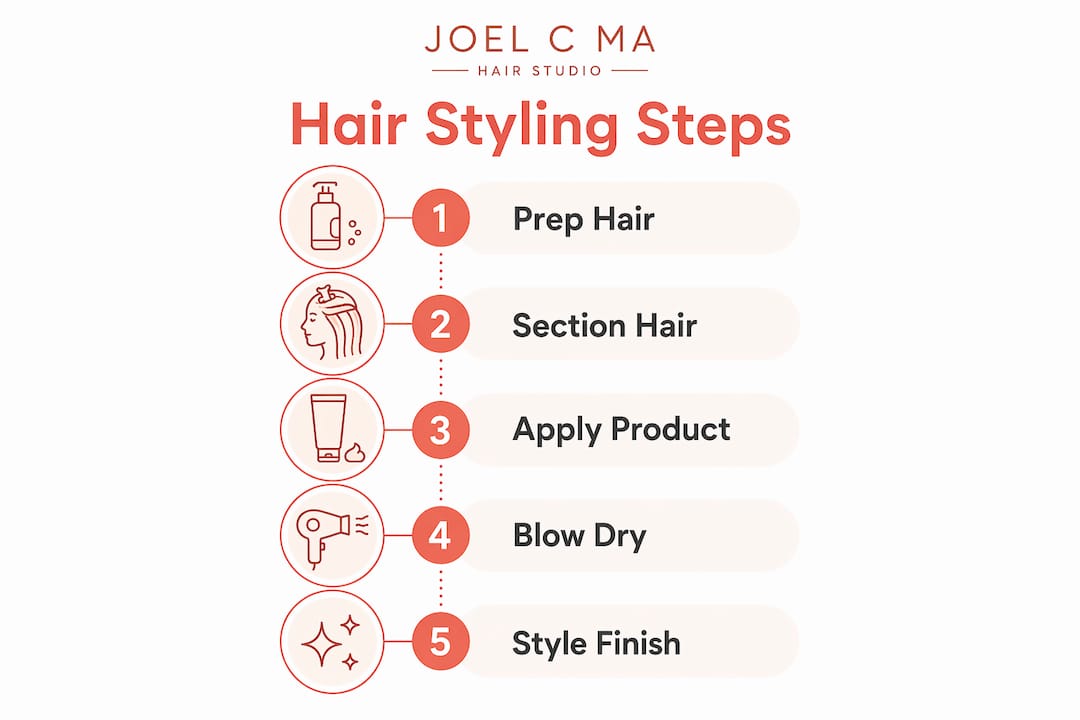
Here is a practical step-by-step routine:
- Set your heat tool to the right temperature. Fine or damaged hair: 300°F or below. Medium hair: 300–375°F. Thick or coarse hair: up to 400°F.
- Work section by section. Take one clip down at a time. Never rush through multiple sections at once.
- Use the cool shot. After blow-drying each section, hit it with the cool shot button. This locks in volume and smooths the cuticle. Skipping this step is why styles fall within an hour.
- Create your base shape. Use a round brush for volume, a flat iron for smooth length, or a curling wand for waves.
- Build texture or movement. Flat irons create subtle bends rather than tight curls for a modern, lived-in look. Pass the iron through a section and give it a slight twist rather than a full wrap.
- Finish with a texturizing spray. Dry texturizing sprays break the uniformity of waves and add movement that makes the style look intentional rather than overdone.
For volume, apply a lightweight mousse at the roots before drying and lift the hair away from the scalp as you blow-dry. For a sleek look, use a paddle brush and pull tension downward while directing the dryer nozzle along the hair shaft. For a lived-in aesthetic, scrunch a small amount of light oil through the ends after styling to soften any stiffness.
Pro Tip: Avoid hair damage by reviewing safe tool usage before changing heat settings. The right temperature for your hair type protects both the style and the strand.
What mistakes should you avoid when following a styling routine?
The most common errors in any hair care routine are easy to fix once you know what to look for.
- Stopping the blow dryer too early. Hair that is only partially dry loses its shape within minutes. Always reach full dryness before finishing.
- Applying conditioner to the roots. This causes flat, greasy roots that no product can fix. Keep conditioner on mid-lengths and ends only.
- Using too many products. Overusing multiple products is one of the most common mistakes. It creates buildup, weighs hair down, and makes styles collapse faster.
- Skipping sectioning. Working through hair in one large mass leads to uneven heat, frizz, and patchy results.
- Using excessive heat. The lowest effective temperature protects hair health and actually produces longer-lasting results than high heat.
Pro Tip: If your hair feels sticky, limp, or resistant to styling, a clarifying wash resets your hair’s natural texture. Product buildup is the hidden reason many styling routines stop working over time.
A periodic clarifying or chelating wash removes buildup that regular shampoo misses. Once your hair is reset, your products will perform the way they are supposed to. Joelcma’s team recommends this reset step for any client whose style has stopped holding as well as it once did.
Key Takeaways
A complete hair styling checklist built on preparation, correct sectioning, and minimal quality products delivers consistent, professional results every time.
| Point | Details |
|---|---|
| Preparation drives results | Pre-styling steps account for 50–65% of your final look, so never skip them. |
| Section by hair thickness | Fine hair needs 2–4 sections; thick hair needs 4–8 for even heat and finish. |
| Dry to 100% before finishing | Styles collapse when hair is only partially dry. Use the cool shot to lock shape. |
| Use fewer, better products | Overloading products causes buildup and style failure. Choose quality over quantity. |
| Reset with a clarifying wash | Periodic clarifying removes buildup and restores your hair’s natural response to styling. |
What I’ve learned after years of watching people style their hair wrong
Most people treat their hair styling routine as a race. They blast the dryer on high, skip sectioning, pile on products, and then wonder why the result looks nothing like what they had in mind. The fix is almost never a new tool or a more expensive product. It is slowing down and doing the basics correctly.
The checklist approach works because it removes decision fatigue. When you know exactly what comes next, you stop improvising and start building muscle memory. After a few weeks, the steps feel automatic. That is when styling becomes genuinely fast, because you are not backtracking or fixing mistakes.
My honest advice: start with the smallest possible product kit. One heat protectant, one volumizer or texturizer, one finishing spray. Learn how your hair responds to those three before adding anything else. Thin hair especially benefits from lightweight root products rather than heavy creams that flatten what little volume you have.
Adapt the checklist to your hair type and your goals. Someone with thick, curly hair needs more sections and vertical parting. Someone with fine, straight hair needs less product and more root lift. The framework is the same. The execution shifts based on what your hair actually needs.
Patience with the process pays off faster than you expect.
— Juiced
Expert styling resources at Joelcma
Joelcma’s La Jolla studio has spent over 25 years refining the techniques behind every step in this guide.

Whether you want to build a stronger daily routine or get a personalized styling consultation tailored to your exact hair type, Joelcma’s team brings salon-level expertise to every appointment. The studio’s hair styling techniques guide covers advanced methods for volume, texture, and sleek finishes. For readers focused on color-treated hair, the best salon shampoos for colored hair comparison helps you choose products that protect your color while keeping your style intact. Every resource connects back to the same principle: great hair starts with the right foundation.
FAQ
What is a hair styling checklist?
A hair styling checklist is a structured list of preparation steps, tools, and products that guides you through a consistent styling routine. It covers washing, conditioning, drying, sectioning, heat tool use, and finishing.
How do I prepare my hair correctly before styling?
Wash and condition your hair, blot dry with a microfiber towel, apply heat protectant to damp hair, detangle from ends upward, and blow-dry to 100% dryness before using any heat styling tool.
How many sections should I use when styling?
Fine hair requires 2–4 sections and thick hair requires 4–8 sections for even heat distribution and consistent results. More sections mean less frizz and a more polished finish.
Why does my hairstyle fall flat so quickly?
The most common cause is stopping the blow dryer before hair is fully dry. Styles lose shape fast when hair is only 70–85% dry. Always use the cool shot button after each section to lock in the shape.
How often should I use a clarifying shampoo?
A clarifying or chelating wash is needed periodically to remove product buildup that causes sticky, limp hair resistant to styling. Most people benefit from a clarifying wash once every two to four weeks, depending on how many products they use daily.
Recommended
- 7 Expert Tips for a Polished Hairstyle for Professional Women – Joel C Ma Hair Studio
- Straight Hair Styling Tips for Effortless Elegance in 2025 – Joel C Ma Hair Studio
- Expert hair styling tips for sleek, luxurious results – Joel C Ma Hair Studio
- Essential Hair Consultation Questions for Perfect Styles – Joel C Ma Hair Studio