

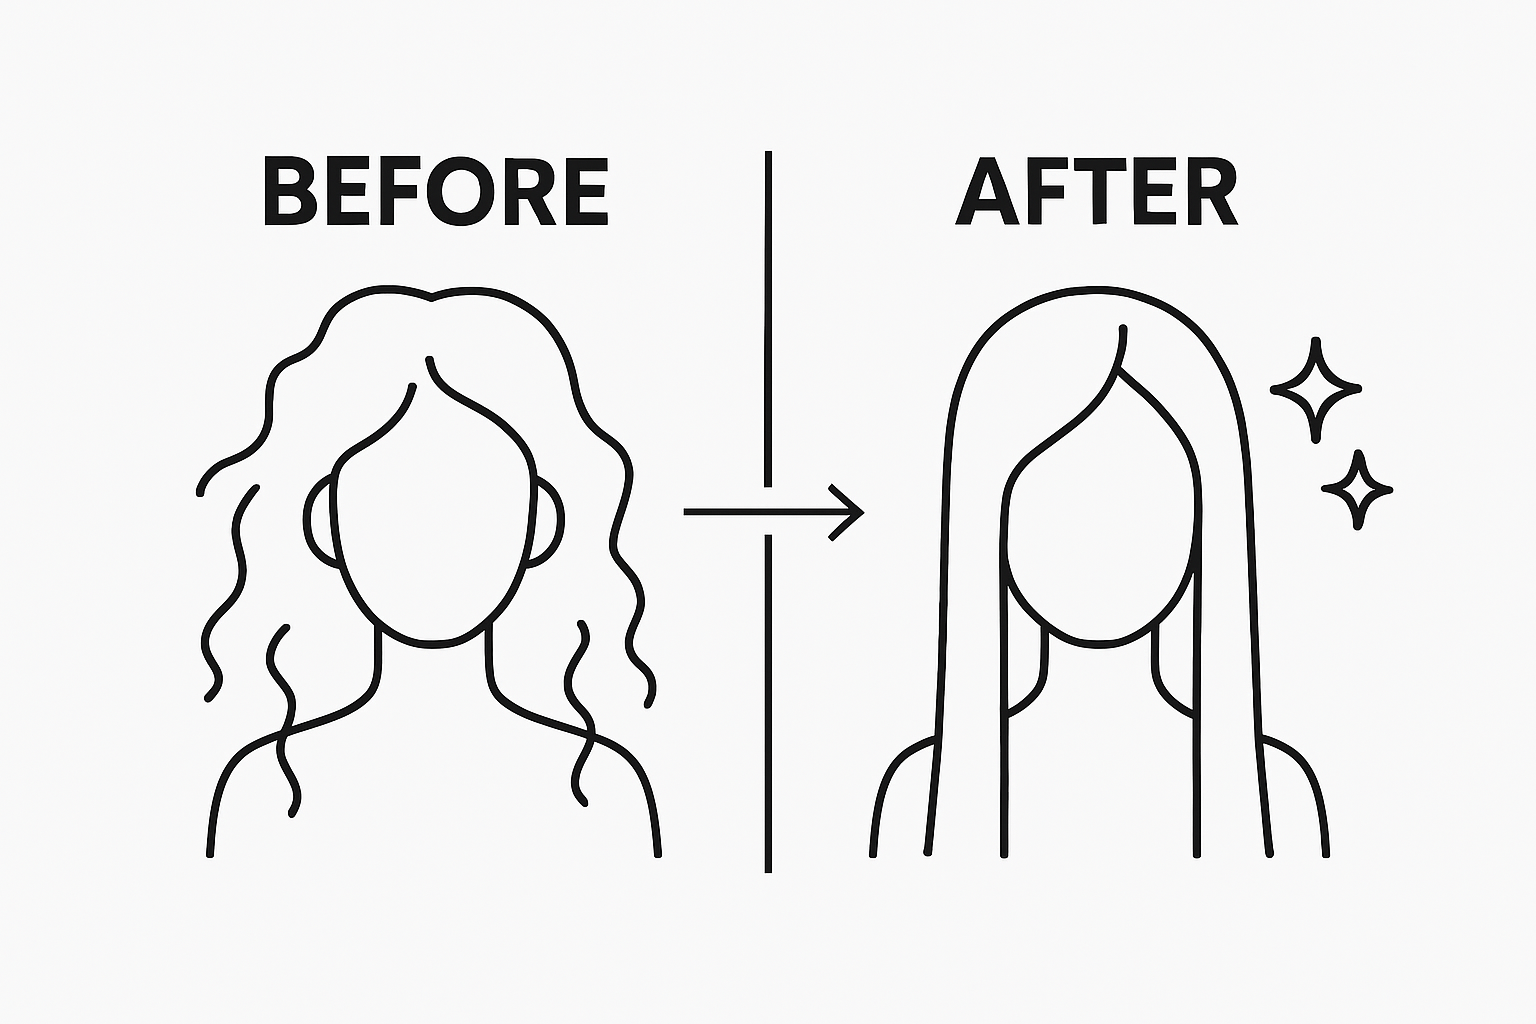
Getting flawless straight hair can feel like an impossible fight when even a simple blow-dry leaves frizz behind. You might spend hours styling only to see waves sneak back by midday. But the real surprise is that the right prep and a careful straightening technique reduce hair damage by up to 75 percent compared to rushed heat styling, according to scientific research. Knowing this flips the whole routine upside down—and proves that a perfect, healthy straight look starts long before you turn on your flat iron.
Table of Contents
- Step 1: Prepare Your Hair With The Right Products
- Step 2: Use The Correct Tools For Straightening
- Step 3: Implement The Straightening Technique
- Step 4: Style For A Polished Finish
- Step 5: Maintain Your Look Throughout The Day
Quick Summary
| Key Point | Explanation |
|---|---|
| 1. Choose products suited for your hair type | Select lightweight, sulfate-free shampoos and silicone-free conditioners tailored to your hair’s texture for optimal results. |
| 2. Invest in a quality flat iron | Use a professional-grade flat iron with ceramic or tourmaline plates for even heat distribution and efficient styling. |
| 3. Section your hair for even straightening | Divide your hair into manageable segments to ensure consistent straightening without missed spots. |
| 4. Use finishing products for polish | Apply a lightweight serum or anti-frizz spray after straightening to enhance shine and protect against frizz. |
| 5. Maintain your style throughout the day | Carry anti-humidity products and avoid frequent touching to keep your straight hair looking sleek and fresh. |
Step 1: Prepare Your Hair with the Right Products
Achieving stunning straight hair begins long before you pick up a styling tool. The foundation of flawless, elegant straight hair lies in meticulous product preparation and understanding your hair’s unique characteristics. This initial step sets the stage for a smooth, polished look that radiates confidence and sophistication.
The journey to perfect straight hair starts in the shower with strategic product selection. Choose cleansing and conditioning products specifically designed for straight hair texture, focusing on lightweight formulations that won’t weigh down your locks. Look for sulfate-free shampoos that gently cleanse without stripping natural oils, and opt for silicone-free conditioners that provide moisture without creating heavy buildup.
According to MedlinePlus, preparing your hair involves more than just selecting the right products—it’s about understanding your hair’s specific needs. For individuals with fine straight hair, select volumizing products that provide lift and prevent flatness. Those with thicker straight hair should gravitate towards more hydrating formulations that control frizz and maintain smoothness.
Pre-styling preparation is crucial. After washing, gently towel dry your hair, avoiding aggressive rubbing that can cause unnecessary damage and frizz. Apply a heat-protectant serum or spray evenly throughout your hair, concentrating on the ends where damage is most likely to occur. These protective products create a barrier between your hair and high-temperature styling tools, minimizing potential thermal damage.
Key preparation tools and products for straight hair styling include:
- Microfiber towel for gentle moisture absorption
- Lightweight heat-protectant spray
- Wide-toothed comb for detangling
- Smoothing serum or leave-in conditioner
Successful preparation means your hair feels clean, lightweight, and protected. When you run your fingers through your hair, it should feel smooth and have a subtle, healthy sheen without any greasy residue. This careful groundwork ensures that subsequent styling steps will result in a more polished, professional-looking finish that maintains hair health and aesthetic appeal.
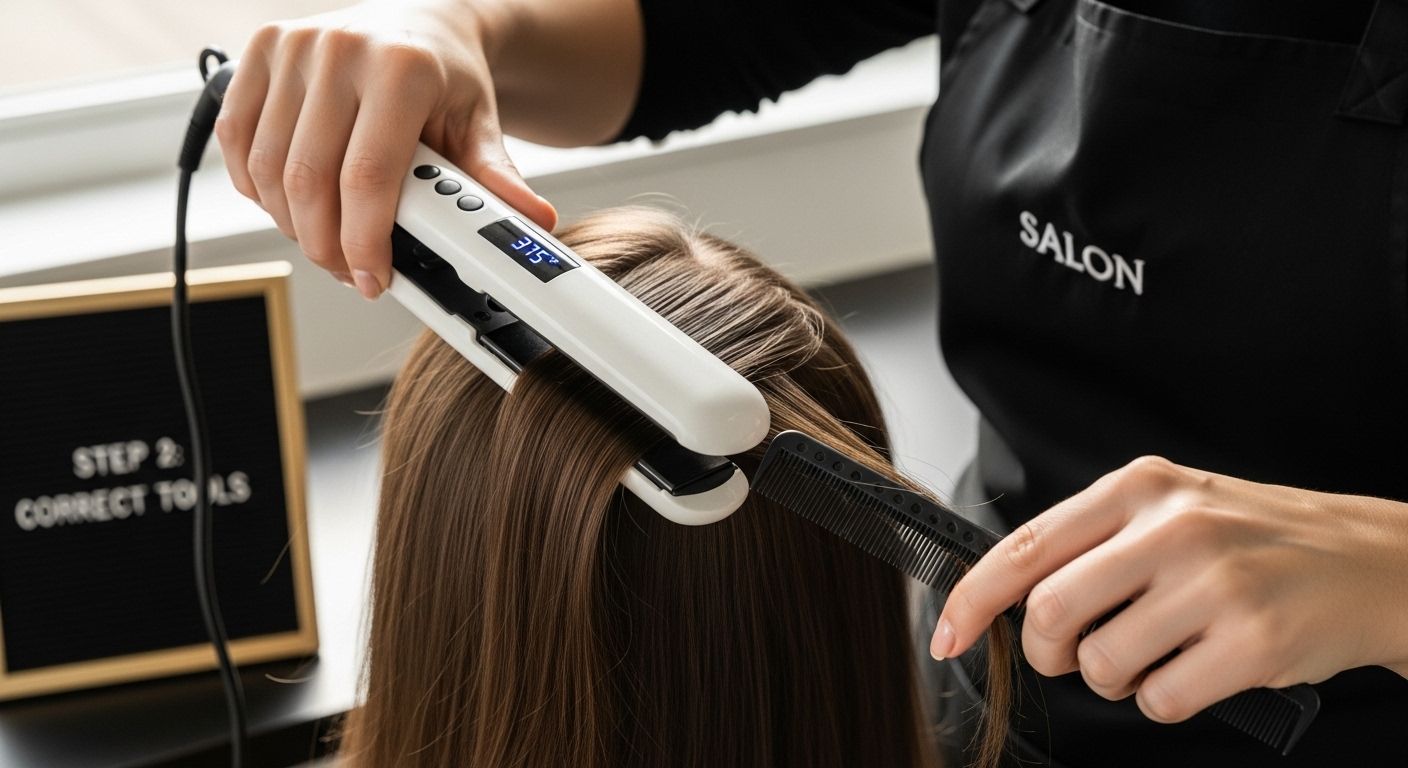
Step 2: Use the Correct Tools for Straightening
Transforming your hair from naturally textured to sleek and straight requires precision and the right equipment. The cornerstone of successful hair straightening is selecting a professional-grade flat iron that matches your hair’s unique texture and length. Not all styling tools are created equal, and investing in quality equipment can mean the difference between stunning, salon-worthy results and potential hair damage.
The International Journal of Trichology emphasizes the importance of choosing a flat iron with advanced technological features. Ceramic and tourmaline flat irons provide the most consistent heat distribution, minimizing potential thermal damage while creating a smooth, polished finish. Look for tools with adjustable temperature settings, allowing you to customize heat levels based on your hair’s thickness and sensitivity.
Professional stylists recommend selecting a flat iron with plates that match your hair length. Narrower plates between 1 and 1.5 inches work best for short to medium-length hair, providing precise control and easier maneuverability. Longer hair requires wider plates, typically 1.5 to 2 inches, to cover more surface area and reduce overall styling time.
Essential tools for effective hair straightening include:
- Ceramic or tourmaline flat iron with digital temperature control
- Heat-resistant styling gloves
- Fine-toothed sectioning comb
- Lightweight hair clips for precise sectioning
Before beginning the straightening process, ensure your flat iron is clean and free from product buildup. Start with completely dry hair, as applying heat to damp strands can cause severe damage and create steam that compromises your styling results. Section your hair systematically, working in small, manageable segments to ensure uniform straightening and prevent missed spots.
Verify successful straightening by running your fingers through your hair—it should feel smooth, with no kinks or waves. The final result should appear glossy and natural, not overly flat or stiff.
When done correctly, your straight hair will maintain movement and shine, reflecting a professional and elegant styling approach.
Step 3: Implement the Straightening Technique
Mastering the art of hair straightening requires precision, patience, and a strategic approach that protects your hair’s integrity while achieving a sleek, polished look. The technique you employ is just as crucial as the tools you select, determining whether you’ll achieve a professional-grade finish or risk unnecessary hair damage.
A comprehensive review highlights the complexity of hair straightening techniques, emphasizing that successful styling goes beyond simple mechanical manipulation. Begin by dividing your hair into clean, manageable sections using hair clips. Start at the back of your head and work systematically toward the front, ensuring each section is no wider than the flat iron’s plate.
Temperature control is paramount. Fine or damaged hair requires lower heat settings, typically between 300-350 degrees Fahrenheit, while thick or coarse hair can tolerate temperatures up to 400-425 degrees. Always start at the lowest effective temperature to minimize potential thermal damage. Hold the flat iron at a 45-degree angle when gliding through each hair section, moving smoothly and consistently to prevent heat damage and ensure uniform straightening.
Key technique considerations include:
- Move the flat iron slowly and steadily
- Avoid going over the same section multiple times
- Maintain consistent pressure and angle
- Keep hair completely dry before straightening
Professional stylists recommend a single, smooth pass through each hair section rather than multiple repetitive movements. When straightening, begin close to the root but not directly on the scalp, and glide the iron down to the hair ends with consistent pressure. This method ensures even heat distribution and minimizes potential damage while creating a smooth, polished appearance.
Verify your straightening technique’s success by examining your hair in natural and artificial light. Perfectly straightened hair should appear smooth and reflective, with no visible kinks or waves. Run your fingers through your hair—it should feel silky and move naturally, without feeling brittle or overly stiff. The ultimate goal is a professional-looking finish that maintains your hair’s health and natural movement.
Step 4: Style for a Polished Finish
Transitioning from basic straightening to a truly elegant hairstyle requires nuanced finishing techniques that elevate your look from simple to sophisticated. The final styling stage is where technical precision meets artistic expression, transforming well-straightened hair into a statement of personal style and refinement.
The International Journal of Trichology emphasizes the critical role of finishing products in achieving a professional-grade result. After straightening, apply a lightweight silicone-based serum or anti-frizz spray, focusing on the hair ends and mid-lengths. These products create a protective barrier that seals the hair cuticle, adding shine and preventing moisture-induced frizz.
Choosing the right styling technique depends on your desired aesthetic. For a sleek, professional look, create a smooth center or side part using a fine-toothed comb. Gently brush your hair to distribute the finishing product evenly, ensuring a uniform, glossy appearance. Those seeking a more relaxed style can opt for soft layers or subtle face-framing sections that add movement and dimension to stick-straight hair.
Critical finishing tools and products include:
- Lightweight hair serum or shine spray
- Soft-bristled finishing brush
- Small amount of flexible-hold hairspray
- Fine-toothed styling comb
Volume and texture are key elements in creating a natural, elegant straight hairstyle. Even with perfectly straight hair, incorporate subtle techniques to prevent a flat, lifeless look. Use your fingers to create gentle lift at the roots, or employ a round brush to add soft movement near the crown. For those with fine hair, concentrate volume-boosting product at the roots to create an illusion of fuller, more dynamic hair.
Verify your styling success by checking your hair from multiple angles in different lighting. A polished finish means your hair appears smooth and reflective, with a natural-looking sheen that moves effortlessly. Run your fingers through your hair—it should feel soft and lightweight, with no sticky residue from styling products. The ultimate goal is a refined, professional look that appears intentional yet entirely natural.
Here[NULL]27s a quick reference table summarizing the main tools and products used at each step of the straight hair styling process. This table will help you gather everything needed for an effortless, elegant look.
| Step | Essential Tools/Products | Purpose |
|---|---|---|
| Preparation | Microfiber towel, wide-toothed comb, heat protectant | Gentle drying, detangling, thermal protection |
| Straightening | Ceramic/tourmaline flat iron, sectioning comb, clips | Smooth, even heat application and control |
| Finishing | Lightweight serum, soft-bristled brush, hairspray | Polish, shine, hold, fight frizz |
| Maintenance | Travel serum, anti-humidity spray, compact brush | Touch-ups, frizz and static control |
Step 5: Maintain Your Look Throughout the Day
Achieving a perfect straight hair style is only half the battle—maintaining that sleek, polished look requires strategic care and smart techniques throughout your day. Your morning styling effort can quickly unravel without proper maintenance, making mid-day touch-ups and protective strategies essential for preserving your elegant straight hair look.
The American Academy of Dermatology emphasizes the importance of protecting your hair from environmental factors that can disrupt your carefully crafted style. Carry a compact travel-sized styling kit that includes a lightweight anti-humidity spray, a soft-bristled brush, and a small amount of smoothing serum. These tools will help you quickly refresh your look and combat unexpected frizz or volume caused by humidity, wind, or unexpected moisture.
Pay special attention to your hair’s interaction with different environments. In humid conditions, a quick application of anti-frizz serum can re-seal the hair cuticle and restore smoothness. For those working in air-conditioned spaces or experiencing dry environments, a tiny amount of hydrating serum can prevent static and maintain your hair’s sleek appearance. Always apply these products sparingly—the goal is subtle enhancement, not heavy product buildup.
Essential touch-up tools for maintaining straight hair include:
- Travel-sized smoothing serum
- Compact anti-humidity spray
- Soft-bristled compact brush
- Microfiber hair towelette
- Small hair clips for emergency restyling
Strategic styling throughout the day can help preserve your initial straightening effort. When possible, avoid touching your hair frequently, as natural oils and hand moisture can introduce unwanted frizz or wave. If you’re engaging in activities that might cause sweating or moisture exposure, consider a loose, low ponytail or a sleek side braid to maintain your style’s integrity. These protective styles not only preserve your straightened look but also add a touch of elegant versatility to your appearance.
Verify your hair’s maintenance success by periodically checking your reflection in different lighting conditions. Your hair should maintain a smooth, reflective surface with minimal frizz or flyaways. A well-maintained straight hair style moves naturally, appears effortlessly polished, and reflects your commitment to personal grooming and style sophistication.
Experience Effortless Elegance With Expert Hair Care at Joel C Ma Hair Studio
Struggling to achieve that flawless, straight style that lasts all day? Our guide, “Straight Hair Styling Tips for Effortless Elegance in 2025,” shows how even the smallest details, from heat protection to choosing the right flat iron, can make or break your look. If you are tired of fighting frizz, flatness, and lack of polish, our team at Joel C Ma Hair Studio can provide the personalized care and precision styling you deserve.
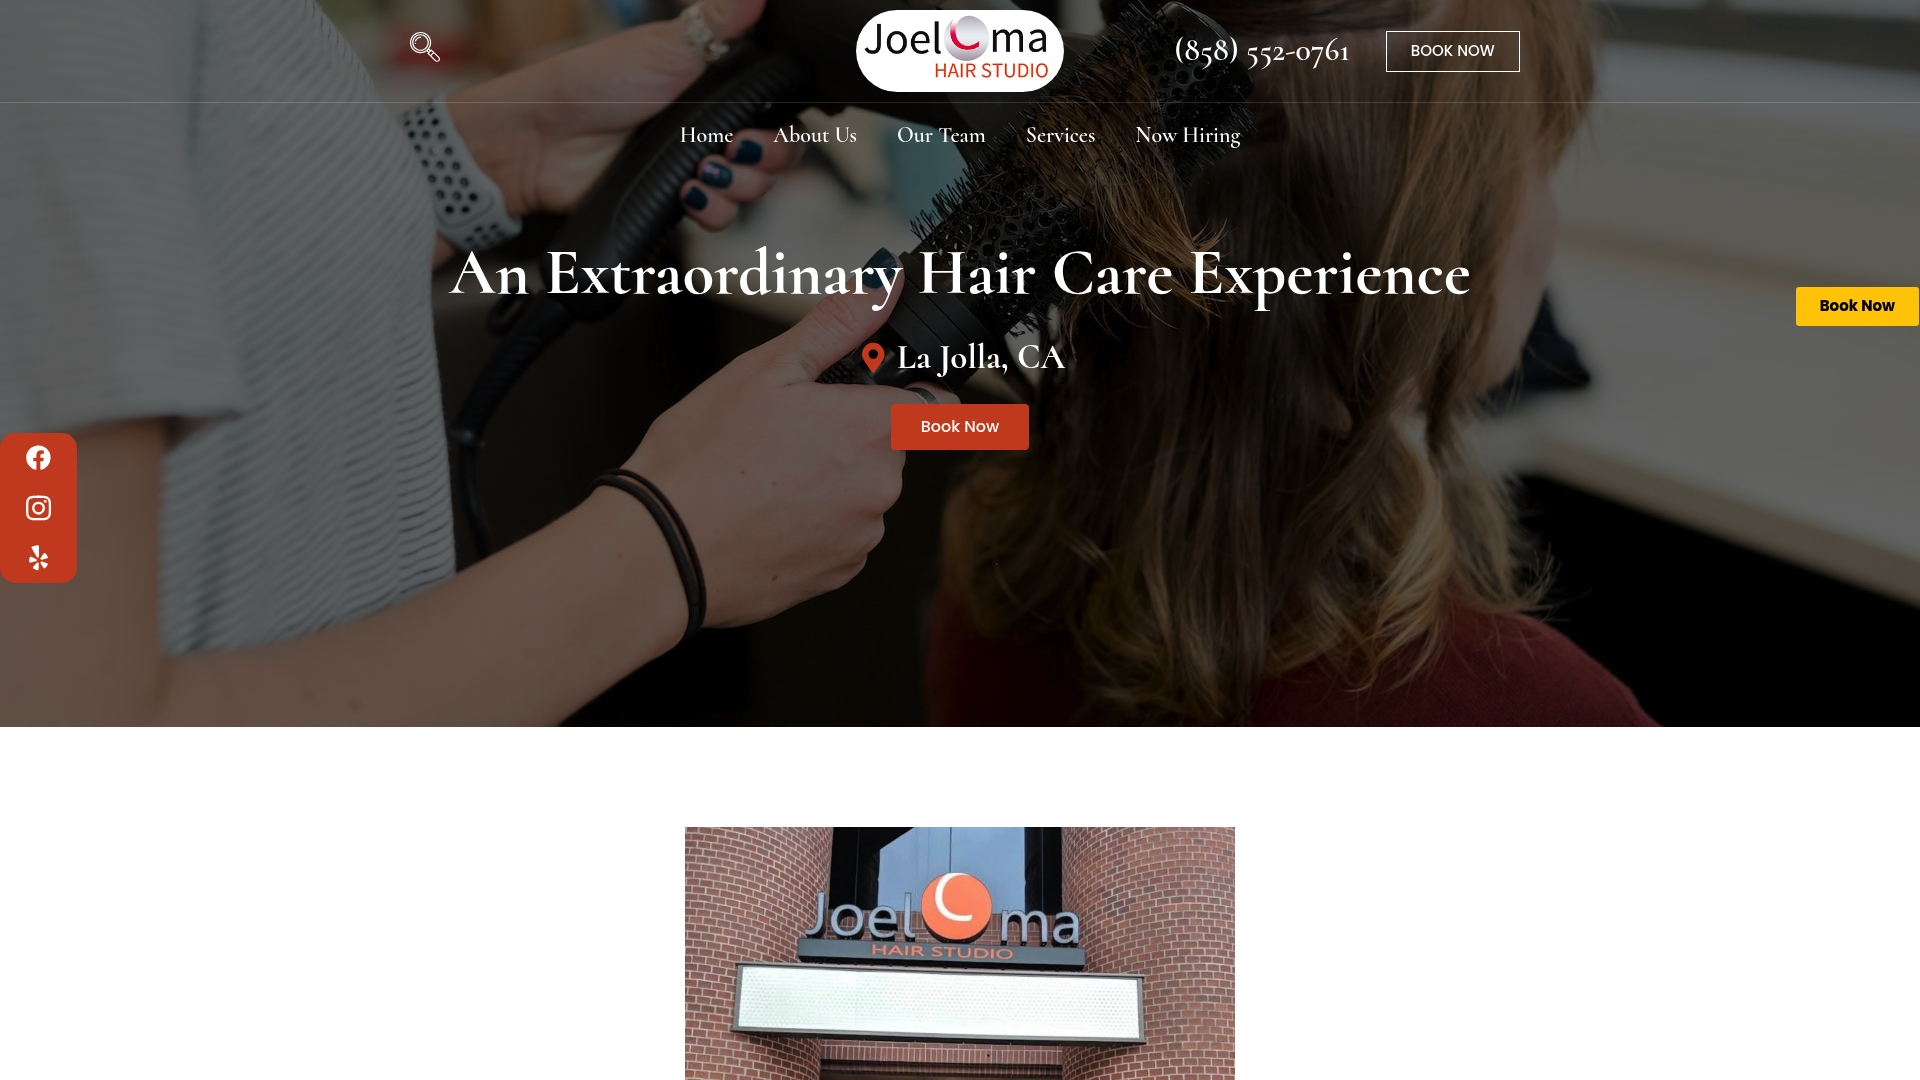
Take your style to the next level with tailored consultations, signature straightening techniques, and advanced hair treatments developed by true artists. Discover how our expert salon services transform routine hair care into effortless elegance that lasts. Book your visit today for a luxury experience that is crafted just for you.
Frequently Asked Questions
What products should I use to prepare my hair for straightening?
Choose lightweight, sulfate-free shampoos and silicone-free conditioners designed for straight hair. Look for heat-protectant serums or sprays to apply before styling to minimize damage.
How do I select the right flat iron for my hair type?
Opt for a ceramic or tourmaline flat iron with adjustable temperature settings. Narrow plates work well for short to medium hair, while wider plates are ideal for longer hair to reduce styling time.
What is the best technique for straightening hair without causing damage?
Divide your hair into small sections and use the flat iron at the proper temperature for your hair type. Move the iron slowly and steadily without going over the same section multiple times to protect your hair.
How can I maintain my straight hairstyle throughout the day?
Use a compact anti-humidity spray and a lightweight smoothing serum for touch-ups. Avoid touching your hair frequently, and consider protective styles like a low ponytail in humid or active conditions.
Recommended
- Services In Detail – Joel C Ma Hair Studio
- 7 Essential Medium Length Men’s Haircuts to Try – Joel C Ma Hair Studio
- 8 Must-See Art Shows in San Diego for 2023 – Joel C Ma Hair Studio
- Hair Health Essentials 2025: Luxury Tips for La Jolla – Joel C Ma Hair Studio
- Shea Moisture for Straight Hair: Growth and Care Tips 2025 | MyHair


