

Curly hair is full of untapped potential, and getting those perfect, defined curls starts long before you even reach for your favorite styling cream. Shockingly, over 65 percent of people have naturally textured hair, yet most never realize their hair’s true curl pattern. Yet the real secret has nothing to do with genetics. The biggest difference comes from following a customized step-by-step approach before you ever start styling.
Table of Contents
- Step 1: Assess Your Curly Hair Type And Needs
- Step 2: Choose The Right Products For Your Curls
- Step 3: Prepare Your Hair For Styling
- Step 4: Apply Techniques For Curl Definition
- Step 5: Dry And Set Your Curls For Maximum Volume
- Step 6: Verify And Adjust For A Polished Finish
Quick Summary
| Key Point | Explanation |
|---|---|
| 1. Identify your curl type | Understanding whether your curls are wavy, curly, or coily helps tailor your hair care routine effectively. |
| 2. Assess hair porosity | Perform a water drop test to determine how well your hair retains moisture, guiding product selection. |
| 3. Choose suitable products | Use lightweight products for low porosity curls, and richer formulations for high porosity hair to maintain moisture. |
| 4. Master curl definition techniques | Utilize methods like rake and scrunch or finger coiling to enhance and define your curls beautifully. |
| 5. Utilize proper drying methods | Techniques like plopping and diffusing promote volume and define curls without causing frizz. |
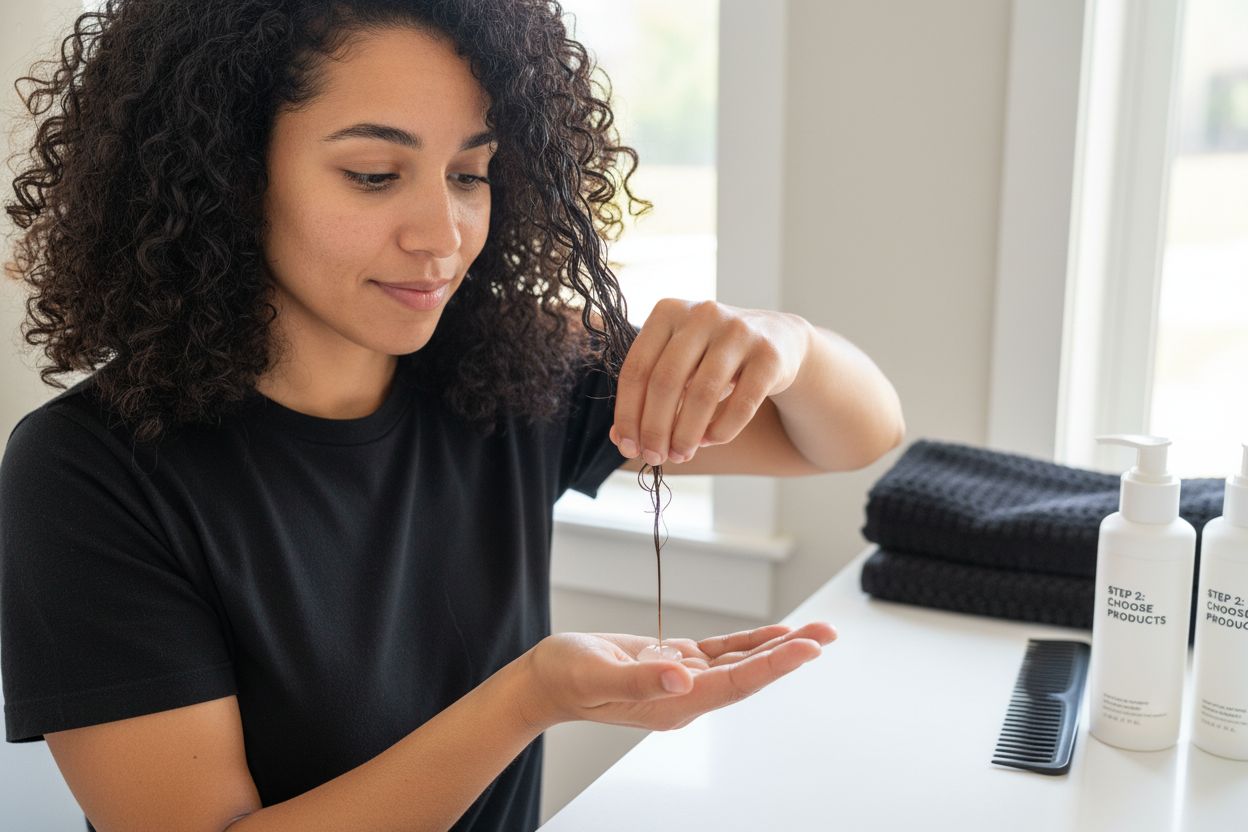
Step 1: Assess Your Curly Hair Type and Needs
Understanding your unique curl pattern is the foundation of creating stunning, fashion-forward hairstyles. Each curl type requires specific care and styling techniques to maximize its natural beauty and potential. Scientific research on hair structure confirms that recognizing your specific curl characteristics is crucial for developing an effective hair care strategy.
Identifying Your Curl Pattern
Curly hair exists on a spectrum ranging from loose waves to tight coils, typically classified into four primary categories: Type 2 (wavy), Type 3 (curly), Type 4 (coily), with additional subcategories denoting the tightness and texture of your specific curl pattern. To determine your type, observe your hair when it is freshly washed and air dried without product, examining its natural state and curl definition.
For wavy hair (Type 2), you will notice loose S shaped patterns that range from barely visible waves to more defined curves. Curly hair (Type 3) demonstrates more pronounced ringlets and spirals that form clear circular shapes. Coily hair (Type 4) features extremely tight, compact curl formations that create intricate zigzag patterns close to the scalp.
Assessing Specific Hair Needs
Beyond curl pattern, you must also evaluate your hair’s porosity, density, and overall health. Fine, fragile curls require gentler handling and lighter products, while thick, robust curls can withstand more intense moisturizing treatments. Porosity determines how effectively your hair absorbs and retains moisture, which directly impacts styling potential and hair health.
To test porosity, conduct a simple water drop test: place a clean strand of hair in a glass of water and observe how it behaves.
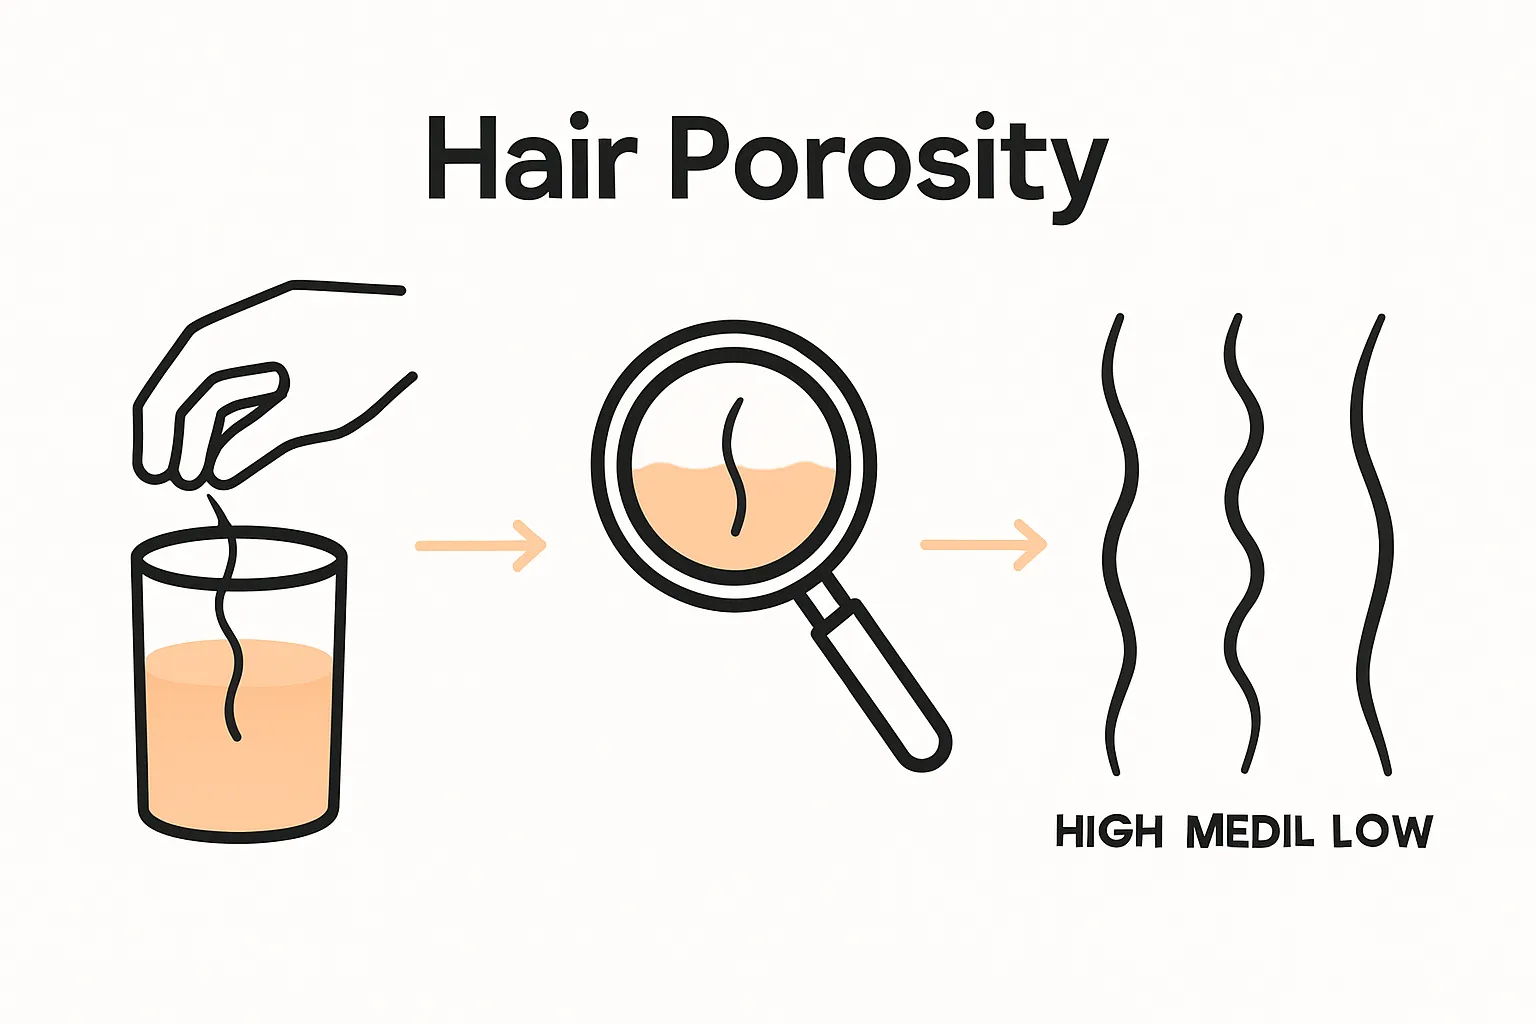 If the strand sinks quickly, you have high porosity hair that absorbs moisture rapidly. If it floats, your hair has low porosity and requires more intensive hydration techniques. A strand that slowly sinks indicates balanced, medium porosity hair.
By carefully analyzing these characteristics, you establish a personalized roadmap for transforming your curls into stunning, fashion forward styles that celebrate your hair’s natural texture and unique beauty.
Step 2: Choose the Right Products for Your Curls
Selecting the perfect hair care products transforms curly hair from unruly to stunning, creating a foundation for fashion forward styling that celebrates your natural texture. Scientific research on hair product interactions highlights the critical role specialized products play in maintaining curl health and definition.
Understanding Product Composition
Curly hair demands a nuanced approach to product selection. Moisture is the cornerstone of curl management, requiring carefully formulated products that hydrate without weighing down your unique hair structure. Look for ingredients like glycerin, natural oils such as argan or jojoba, and hydrating botanical extracts that provide essential nourishment without creating product buildup.
The most effective curl products contain specific ingredients tailored to your hair’s porosity and texture. For low porosity hair, lightweight liquid leave in conditioners and water based styling creams work best. High porosity hair requires richer, more intense moisturizing agents like shea butter, coconut oil, and protein enriched treatments that help seal the hair cuticle and prevent moisture loss.
Navigating Product Selection
Creating a comprehensive curl care routine involves strategically layering multiple products. Start with a sulfate free shampoo that gently cleanses without stripping natural oils. Follow with a hydrating conditioner specifically designed for your curl type. Leave in conditioners become your primary styling foundation, providing moisture and helping define curl patterns.
Curl defining creams and gels serve as the next critical layer, helping to shape and maintain your hair’s natural texture. Avoid products containing alcohol or harsh chemicals that can cause dryness and frizz. Instead, prioritize water based formulations with natural holding agents that provide flexible, touchable definition. Pay attention to how your hair responds to different products, understanding that finding your perfect combination may require experimentation and patience.
Below is a comparison table of common curly hair product types, highlighting their key ingredients and how they support various curl and porosity needs.
| Product Type | Key Ingredients | Best For Porosity | Purpose/Benefit |
|---|---|---|---|
| Sulfate-Free Shampoo | Mild cleansers, botanical oils | All | Cleanses without stripping natural oils |
| Hydrating Conditioner | Glycerin, argan oil, extracts | All | Detangles, adds moisture |
| Leave-In Conditioner | Water-based hydrators | Low | Lightweight moisture, enhances pattern |
| Curl Defining Cream | Shea butter, proteins | High | Shapes curls, reduces frizz |
| Curl Gel | Natural holding agents | All | Defines, holds curl shape without crunch |
| Deep Moisture Oil | Coconut, jojoba, argan oil | High | Seals moisture, prevents dryness |
By investing time in understanding your hair’s unique characteristics and selecting products accordingly, you create the ultimate canvas for transforming your curls into a sophisticated, personalized style statement.
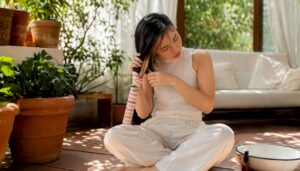
Step 3: Prepare Your Hair for Styling
Preparing your curls for styling is a critical process that sets the foundation for achieving stunning, fashion forward looks. This transformative stage determines how your hair will behave, maintain its shape, and showcase its natural texture throughout the day. Scientific research on hair detangling emphasizes the importance of gentle handling during preparation.
Washing and Initial Conditioning
Begin your styling preparation with a thorough yet gentle cleansing routine. Use lukewarm water to open hair cuticles, allowing your specialized curly hair shampoo to effectively remove buildup without stripping natural oils. The key is maintaining moisture while cleaning, so focus on massaging your scalp gently and allowing the product to flow through your hair strands without excessive friction.
After shampooing, apply a generous amount of conditioner, focusing on the mid lengths and ends of your hair. This step is crucial for detangling and creating a smooth foundation for styling. Work the conditioner through your curls using your fingers or a wide toothed comb, starting from the ends and progressively moving toward the roots. This method minimizes breakage and helps preserve your curl pattern.
Moisture Sealing and Styling Preparation
Once you have thoroughly conditioned your hair, gently squeeze out excess water using a microfiber towel or an old cotton t shirt. Avoid rough terry cloth towels, which can create frizz and disrupt your natural curl formation. The goal is to remove excess moisture while keeping your curls damp enough to apply styling products effectively.
Prepare your styling area with all necessary tools: leave in conditioner, curl defining cream, diffuser attachment for your hair dryer, and a soft bristled brush or wide toothed comb. Creating a structured preparation environment ensures you can move smoothly through your styling process without interruption.
Take a moment to section your hair if you have particularly thick or long curls. This allows for more precise product application and ensures each section receives equal attention. By meticulously preparing your hair, you create the perfect canvas for expressing your unique curl personality and achieving salon worthy results at home.
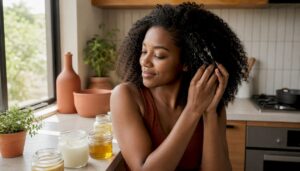
Step 4: Apply Techniques for Curl Definition
Mastering curl definition transforms your hair from ordinary to extraordinary, creating sculptural styles that showcase your natural texture with precision and flair. Scientific research on curl styling techniques confirms that strategic product application can dramatically enhance curl formation and longevity.
The Rake and Scrunch Method
Begin by dividing your damp hair into manageable sections, ensuring each section receives equal attention. The rake and scrunch technique is a game changing approach for defining curls with minimal disruption to their natural pattern. Start by applying your curl defining cream or gel, using your fingers like a rake to distribute the product from roots to ends. Spread your fingers wide and gently glide them through each section, allowing the product to coat every strand evenly.
After raking, transition to the scrunching technique. Cup your hair in your hands, starting from the ends and moving upward toward the scalp. Gently squeeze and lift your curls, encouraging them to form tight, defined ringlets. This method helps create volume, reduces frizz, and enhances your hair’s natural curl structure.
Avoid touching your hair while it dries to prevent disrupting the curl formation and creating unwanted frizz.
Advanced Styling Techniques
For more intricate curl definition, consider incorporating additional styling methods. The praying hands technique involves smoothing product along the length of your hair with palms flat against your strands, which works exceptionally well for looser curl patterns. Finger coiling is another advanced technique where you wrap small sections of hair around your finger, creating precise, uniform curls that hold their shape beautifully.
Pay attention to your hair’s unique response to different techniques. Some curl types require more manipulation, while others thrive with minimal interference. Experiment with various methods, noting how your curls react to different amounts of product and styling approaches. The goal is to enhance your natural curl pattern, not fight against it.
Remember that patience is crucial during the styling process. Allow your curls to form and set naturally, resisting the urge to touch or disturb them while drying. By mastering these definition techniques, you unlock the potential to create stunning, fashion forward looks that celebrate the beautiful complexity of your curls.
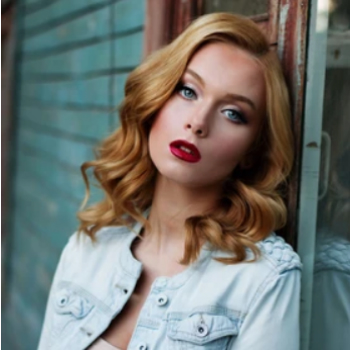
Step 5: Dry and Set Your Curls for Maximum Volume
Drying your curls is a critical phase that transforms your styled hair from wet to glamorous, determining the final shape, volume, and texture of your look. Scientific research on curl drying techniques reveals innovative methods for achieving optimal curl definition and volume.
The Plopping Technique
Instead of traditional towel drying, which can disrupt curl patterns and create frizz, embrace the plopping method. Plopping is a game changing technique that helps preserve curl definition while adding significant volume. Take a microfiber towel or soft cotton t shirt and lay it flat on a surface. Flip your head forward, carefully lowering your curls onto the fabric, then wrap the material around your head, creating a turban like structure.
This method allows gravity to work in your favor, encouraging curl formation without the weight and friction of traditional drying. Leave the plop in place for 15 to 30 minutes, depending on your hair’s thickness and moisture level. The compressed drying technique helps set your curls while minimizing frizz and maintaining the intricate patterns you created during styling.
Diffusing for Ultimate Volume
For those seeking maximum volume, a hair diffuser becomes your ultimate styling tool. Attach the diffuser to your blow dryer and set it to low or medium heat with a low air flow setting. Start at the roots, holding the diffuser close to your scalp and moving in circular motions. This technique lifts the hair and encourages root volume while gently drying your curls without causing disruption or frizz.
Work in sections, carefully cupping each cluster of curls in the diffuser and moving upward toward the scalp. Avoid aggressive movements that might cause curl separation or create unwanted frizz. If your hair is particularly dense or long, consider diffusing in multiple short sessions, allowing breaks to prevent heat damage and maintain curl integrity.
Pay attention to your hair’s response during the drying process. Some curl types require minimal manipulation, while others benefit from more strategic diffusing. The ultimate goal is to enhance your natural texture, creating a voluminous, fashion forward style that celebrates the unique beauty of your curls.
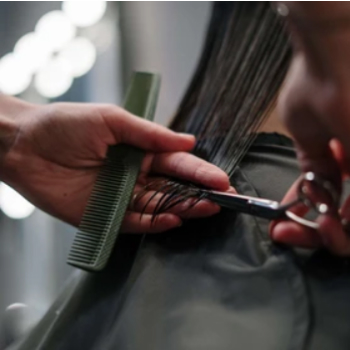
Step 6: Verify and Adjust for a Polished Finish
The final stage of curl styling transforms your carefully crafted look from good to extraordinary, requiring a meticulous approach to achieving a flawless, fashion forward result. Hairstyling experts recommend careful final inspection to ensure optimal curl presentation and longevity.
Visual and Tactile Inspection
Stand in natural lighting to critically examine your curls from multiple angles. This allows you to identify any areas requiring additional definition or volume adjustment. Run your fingers gently through your hair, checking for consistent curl formation and identifying any sections that might need spot treatment. Look for uniform curl patterns, assessing whether each section maintains the desired shape and bounce.
Pay special attention to potential problem areas like the crown and hairline, where curls can often appear less defined or prone to frizz. Use a small amount of curl refreshing spray or lightweight styling cream to smooth any rebellious strands. Gently scrunch these sections to reactivate the product and encourage curl realignment without disturbing the overall style.
Strategic Final Adjustments
For those seeking ultimate polish, consider using a small amount of lightweight hair oil to add shine and reduce any remaining frizz. Apply the oil sparingly, focusing on the ends and mid lengths of your hair. Use your fingertips to distribute the product, ensuring even coverage without weighing down your carefully constructed curls.
If volume appears uneven, employ the pick and lift technique. Using a wide toothed pick or your fingers, gently lift the roots in areas that seem flat, creating additional height and movement. This final manipulation can dramatically enhance the overall appearance of your curls, transforming them from simply styled to truly stunning.
Remember that curl perfection is about celebrating your hair’s natural texture, not achieving an unrealistic ideal. Each adjustment should enhance your unique curl pattern, creating a look that feels both polished and authentically you.
Here is a troubleshooting table outlining common curly hair issues, their likely causes, and recommended solutions based on the guide.
| Problem | Likely Cause | Solution |
|---|---|---|
| Frizz after styling | Rough towel drying, lack of moisture | Use microfiber towel, apply more hydrating product |
| Curls falling flat | Product buildup or heavy products | Clarify hair, choose lighter formulations |
| Lack of curl definition | Insufficient product or technique | Increase product, use rake and scrunch |
| Uneven volume | Dense areas not diffused/lifted | Diffuse in sections, use pick at roots |
| Patchy dryness | High porosity, uneven product | Apply more leave-in/moisture to dry areas |
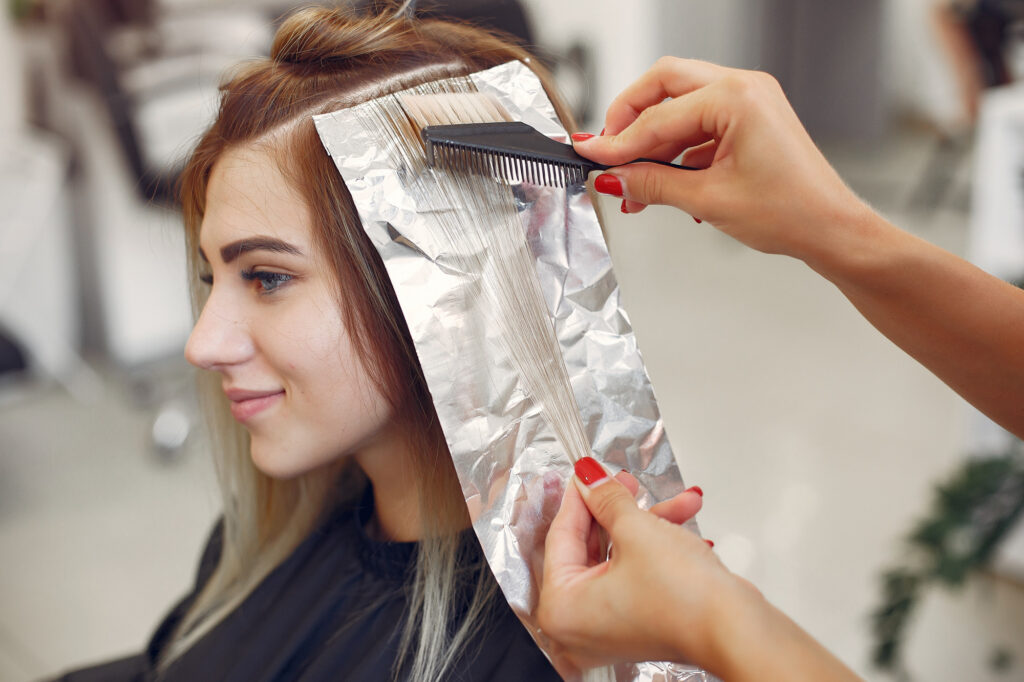
Upgrade Your Curly Hair Styling Experience in La Jolla
Struggling with curly hair that frizzes, falls flat, or never looks quite right—no matter how closely you follow every step? You are not alone. The article highlighted common frustration points like defining curl patterns, mastering moisture balance, and finally achieving those flawless, fashion-forward looks. Sometimes, even the right product or technique is not enough. What if you could skip the guesswork and let expert hands bring out the best in your natural curls?
Experience the transformation only a top-tier salon can deliver. At Joel C Ma Hair Studio, our team specializes in personalized curly hair solutions, advanced styling methods, and customized consultations designed for your individual curl type and texture. See real client transformations and discover why our services consistently earn raving reviews. Ready for confidence-boosting hair that truly fits your lifestyle?
Visit Joel C Ma Hair Studio now to reserve your expert curl appointment in La Jolla. Your best, most stylish curls are waiting—secure your spot today before our most popular stylists book up!
Frequently Asked Questions
What is the best way to determine my curly hair type?
To determine your curly hair type, observe your hair after washing and air drying it without product. Look for the natural shape and definition of your curls, categorizing them into Type 2 (wavy), Type 3 (curly), or Type 4 (coily).
How can I improve my curl definition?
Improving curl definition can be achieved through techniques like the rake and scrunch method, where you distribute curl defining creams evenly and then scrunch the hair to encourage ringlet formation. Experiment with different methods to see what enhances your natural curl pattern the best.
What products should I use for low porosity curly hair?
For low porosity curly hair, lightweight, water-based leave-in conditioners and styling creams are recommended. These products help to hydrate without weighing down your hair, allowing for better moisture retention and enhanced curl definition.
How can I add volume to my curls when drying?
To add volume while drying, consider the plopping technique, where you gently wrap your curls in a microfiber towel to encourage curl formation without frizz. Additionally, using a diffuser on low heat can help lift the roots and create fuller curls.
